First Task: Make a Controlled Schema Change
What you will do: Add a field or create a table in FileMaker by describing it in plain language, then review exactly what will happen and confirm before anything executes.
Time: About 5 minutes.
Use a development or test solution for your first DATA run. DATA mode executes real changes to your FileMaker database. Practicing on a dev copy first lets you get comfortable with the confirmation flow before running it on production.
Before you start
Section titled “Before you start”- Genie is open and showing the chat interface.
- FileMaker is open with a development or test solution.
- You have a specific schema change in mind: adding a field, creating a table, or updating records.
Step 1: Switch to DATA mode
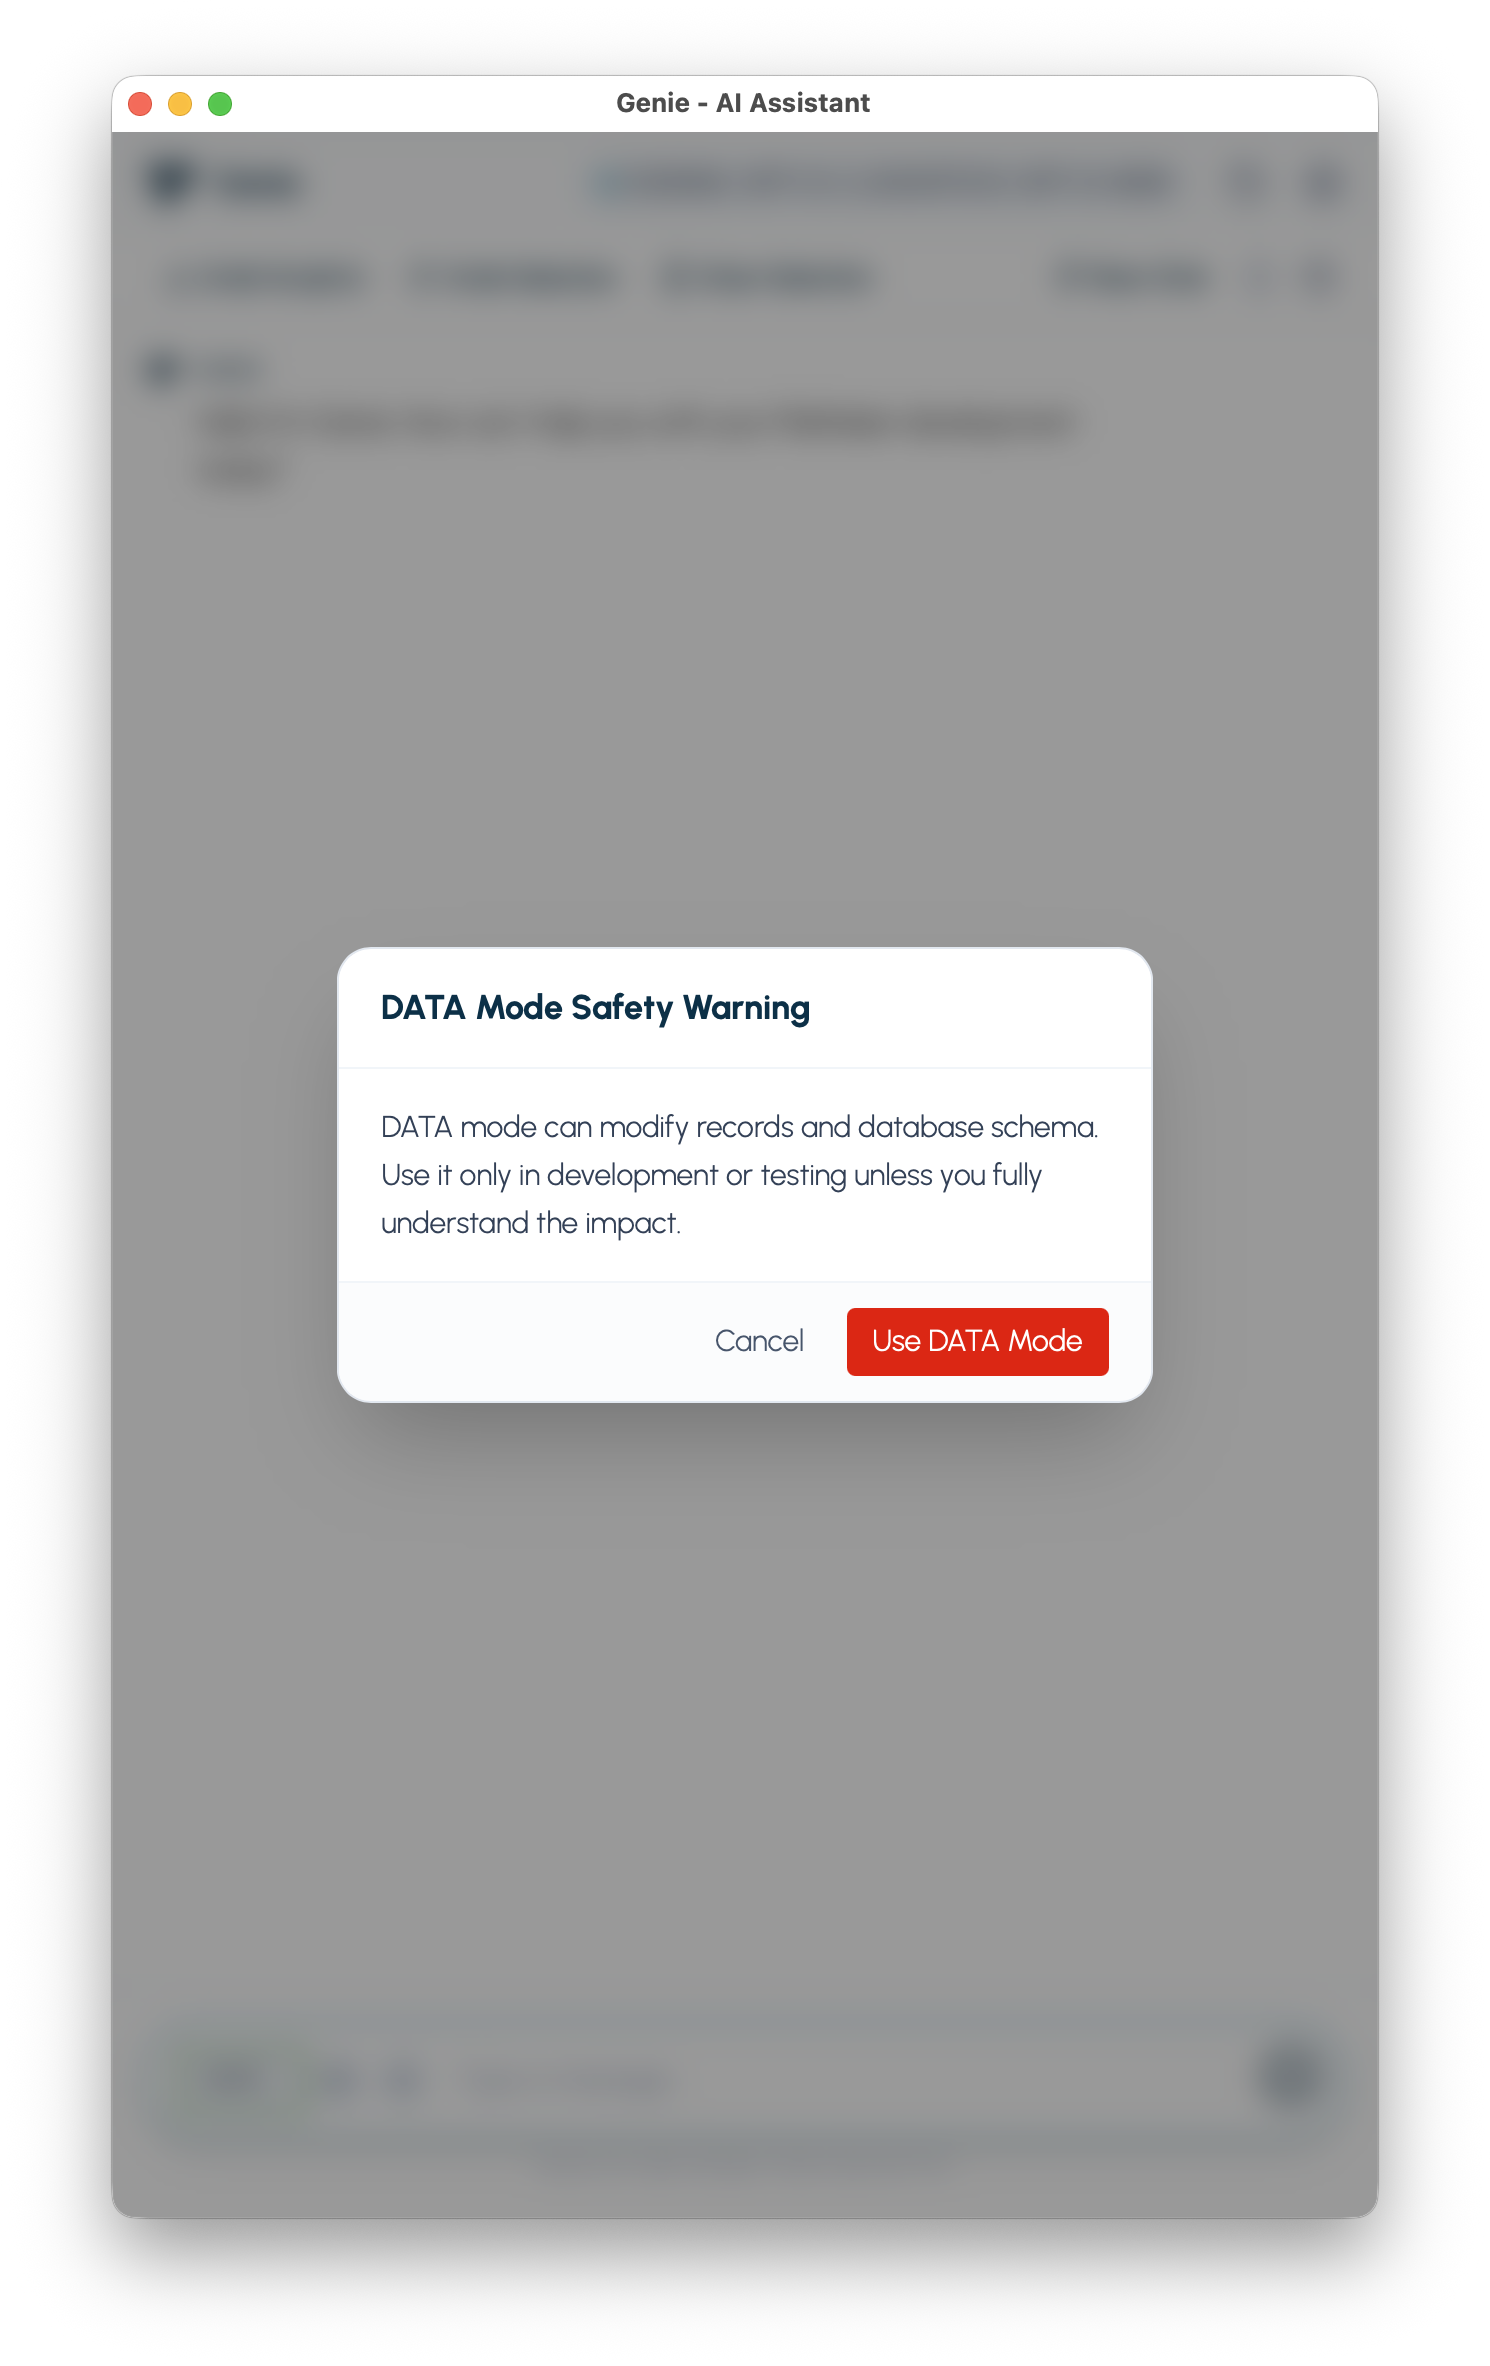
Section titled “Step 1: Switch to DATA mode”Click DATA in the mode selector at the bottom of the chat window.
A warning appears explaining that DATA mode executes mutations and requires explicit confirmation before anything runs. Click Activate to proceed.
Step 2: Open Metadata Explorer and select your table
Section titled “Step 2: Open Metadata Explorer and select your table”Click Metadata Explorer in the tool belt. Check the table you want to modify.
Genie uses your selected tables and fields to generate accurate SQL. It will use your actual table and field names, not generic placeholders.
Step 3: Describe the change you want to make
Section titled “Step 3: Describe the change you want to make”Type a specific description of the change in the composer. Some examples:
Add a text field called Notes to the Invoices table.Create a new table called AuditLog with three fields: RecordID (number), ChangedBy (text), ChangedAt (timestamp).Insert a new record in the Projects table with Name set to "Website Redesign" and Status set to "Active".Update all Contacts records where Status is blank and set Status to Active.
Hit Enter to send.
Step 4: Answer Preflight questions (if they appear)
Section titled “Step 4: Answer Preflight questions (if they appear)”If your request is ambiguous (field type unclear, table scope uncertain), Genie asks short clarifying questions before generating SQL. Answer them so the generated statement matches exactly what you want.
Step 5: Review the staged SQL
Section titled “Step 5: Review the staged SQL”Genie generates the SQL statement and displays it in chat alongside Confirm and Cancel actions.
Read it carefully before doing anything:
- Does the table name match the table you selected?
- Does the field name and type match what you asked for?
- Are there any unexpected changes such as additional fields or different types?
Nothing has run yet. The SQL is staged, not executed. You can click Cancel here with no consequence to your database.
Step 6: Confirm the change
Section titled “Step 6: Confirm the change”When the SQL looks right, type CONFIRM CHANGE in the composer (exact phrase required) or click the Confirm button.
Genie executes the SQL. A success message appears in chat.
Switch to FileMaker and verify the result:
- For a new field: open Manage Database and check the table.
- For a new record: open the layout for that table and find the new row.
- For an update: filter records to confirm the change applied as expected.
Multi-step changes (Migration plan)
Section titled “Multi-step changes (Migration plan)”If your request involves several related operations (for example, add a field, backfill it with data, then remove the old field), Genie creates a migration plan instead of a single SQL statement.
Each step is presented as a separate card. You confirm, skip, or cancel each step individually. This gives you full control over multi-step changes without having to run them all at once.
What success looks like
Section titled “What success looks like”- The SQL Genie generated matched your description before you confirmed.
- FileMaker shows the new field, table, or record after confirmation.
- No unexpected changes to other tables or fields.
If something goes wrong
Section titled “If something goes wrong”- Validation error before confirmation: Genie caught a problem in the SQL before it ran. Read the error and revise your request.
- Execution error after confirmation: The SQL ran but FileMaker rejected it (for example, an unsupported column type). Genie shows the error and keeps the staged SQL available so you can revise and retry without starting over.
- Wrong result after confirmation: Use FileMaker’s Manage Database to manually undo the change. On the next run, be more specific in your description.
What to try next
Section titled “What to try next”- Run a QUERY first to check the current state of a table before you modify it. See First Task: Run Your First Query.
- Try a multi-step request:
Add a Status field to Projects, then set all existing records to Active. - Use DATA mode to clean up records:
Delete all Contacts records where Email is blank and Created Date is before 2022.